Byteplexure insights
Hosting WordPress on Google Cloud with Bitnami and SSL

Google Cloud Platform offers a robust and scalable infrastructure for hosting web applications and websites. Its reliability, global reach, and flexible pricing make it an attractive option for individuals and businesses alike. When combined with the power of Bitnami, a trusted name in application packaging, and SSL encryption, you can create a WordPress site that not only performs well but also instills trust in your visitors.
Now, let's embark on the journey to host your WordPress site on Google Cloud, complete with SSL encryption, and start building your online presence with confidence.
Step 1:- First, open https://console.cloud.google.com/. Create a new project, or if you have an existing one, that also works.
Step 2:- Click on marketplace.
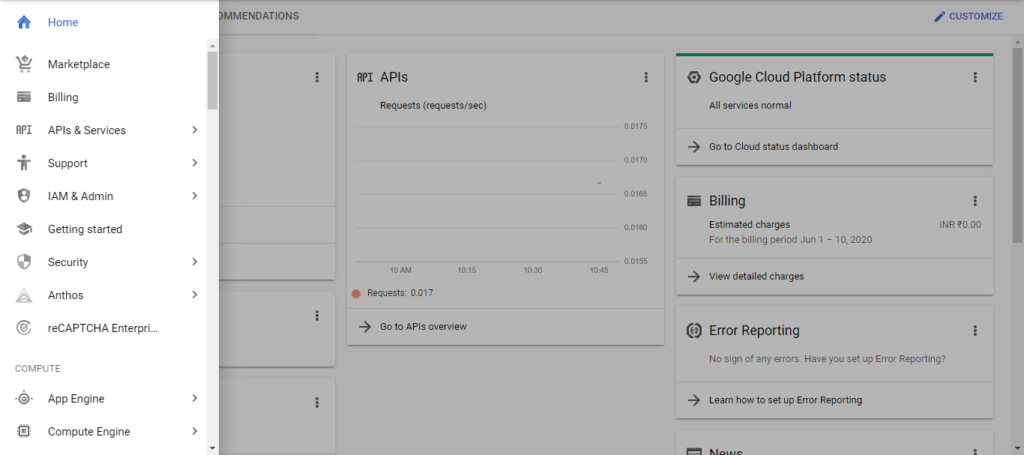
Step 3:- Search for WordPress.
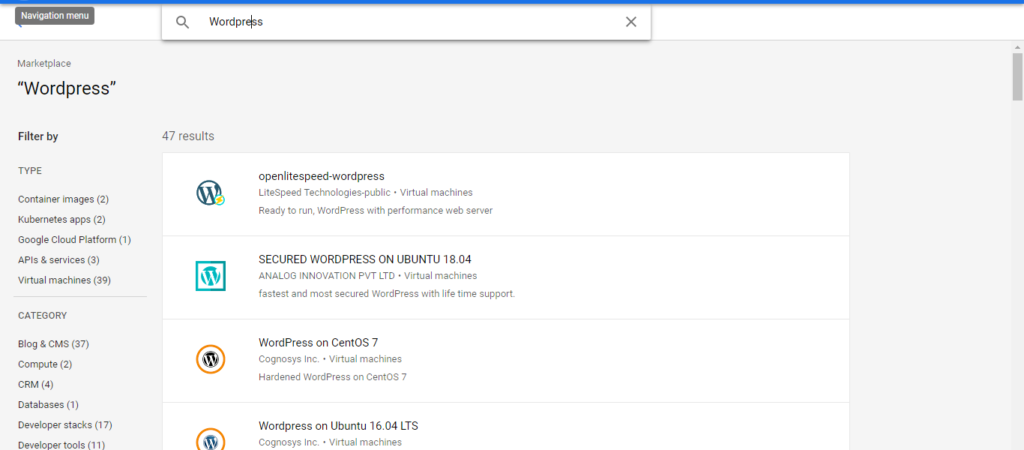
Step 4:- Click on openlitespeed-wordpress. It will redirect to the openlitespeed-wordpress page in GCP.

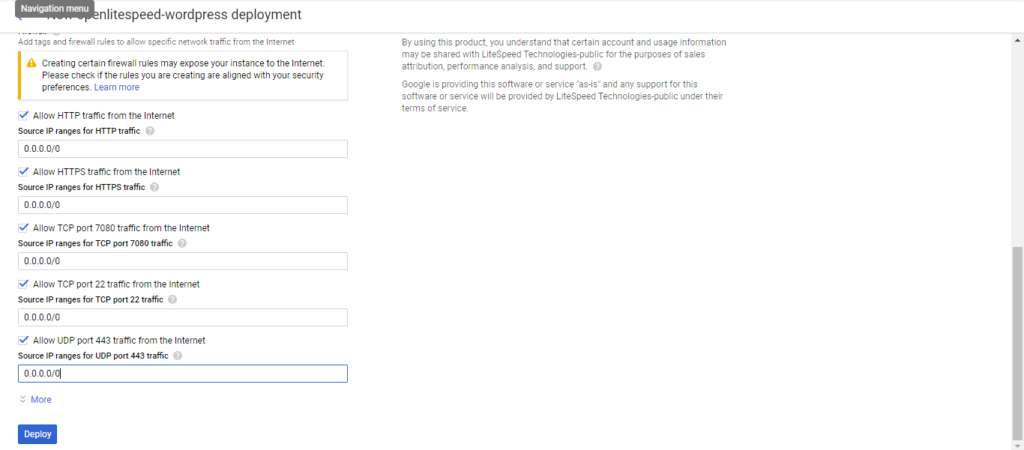
Step 5:- Click on LAUNCH. You can enter information as needed. You can change the Deployment name, Boot Disk Type, etc. To allow traffic from all over the network enter 0.0.0.0/0 in all fields. Then, press Deploy.
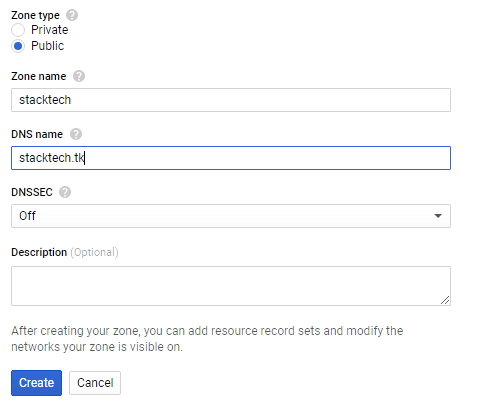
Step 6:- Allocate static IP. So, sever address will never change. After that, go to Cloud DNS. Press on Create Zone. Give zone name. In the DNS Field, enter your domain name. For tutorial purposes, I am using the free domain name. After that, press Create.
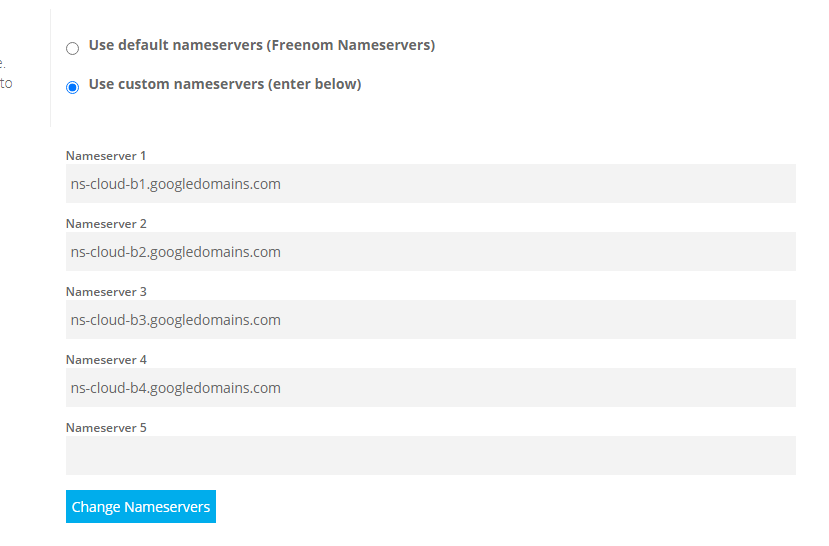
Step 7:- Copy NS and Paste in NS of your domain. Press Change Server.
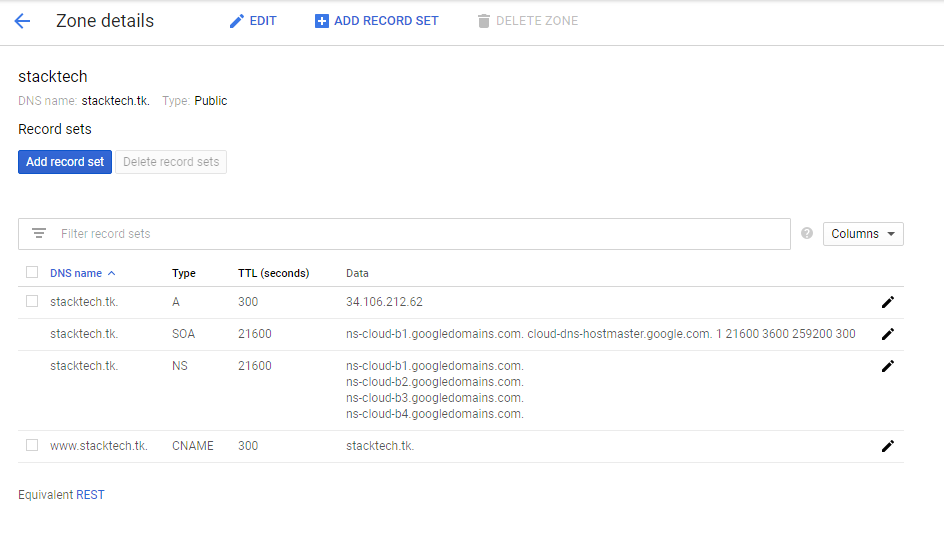
Step 8:- Changes in NS will take some time. Copy the IP address and create two records first one is in A record in which only you have to enter the server IP address. Another one is a CNAME record in which you have to prefix the DNS name with www, and you have to select record type CNAME and enter Canonical name with your original domain name. In this case, stacktech.tk
Your DNS Zone will look like the following -
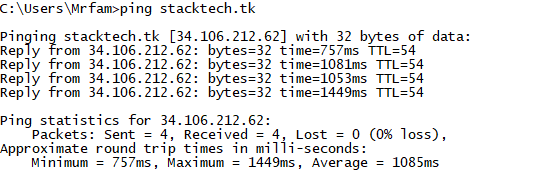
Step 9:- Using the ping command, you can check whether everything is properly done. If you get a proper reply with your entered IP address in the previous step, everything is fine.
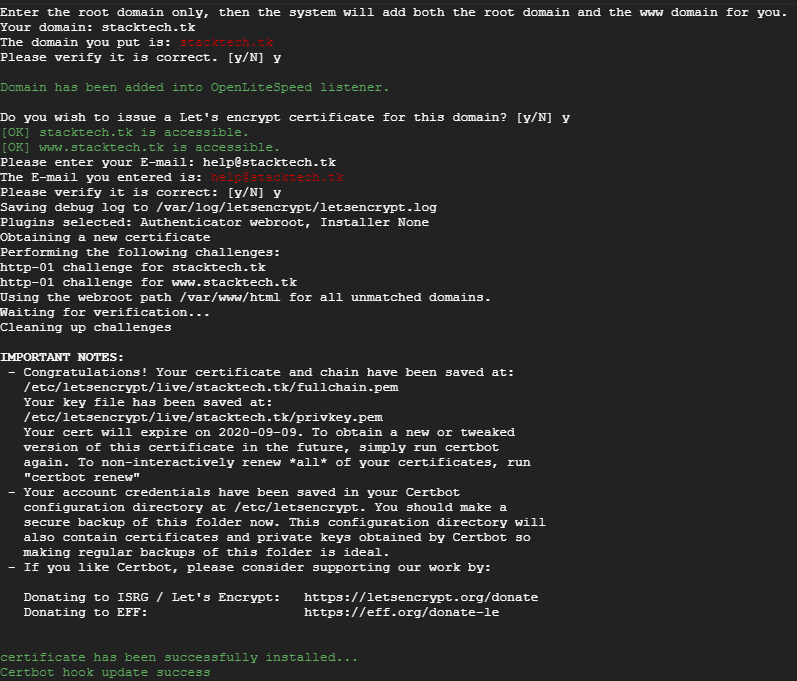
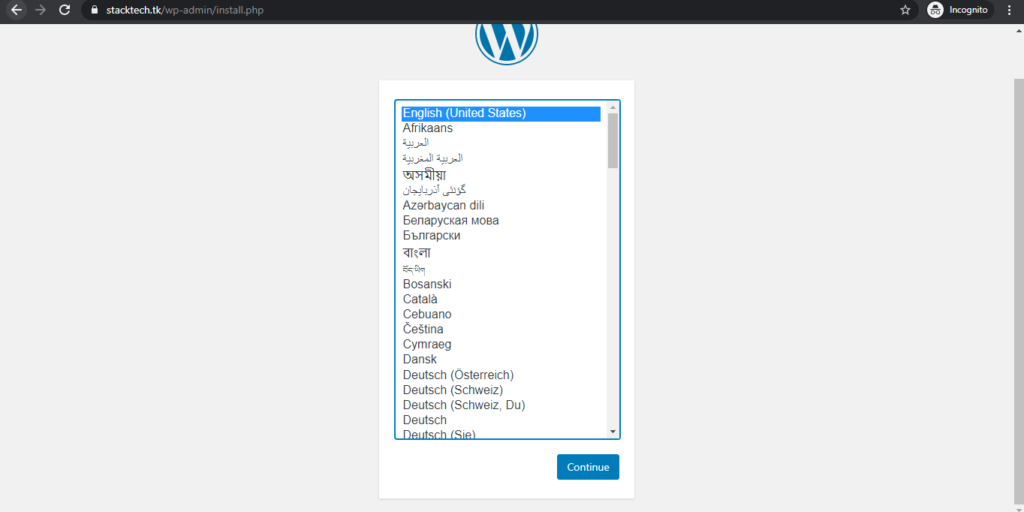
Step 10:- Login to SSH from the Deployment manager. Now, we are going to generate an SSL certificate for our domain. When you First-time log in using SSH, it will ask you about the domain name. Enter the domain name and press enter.
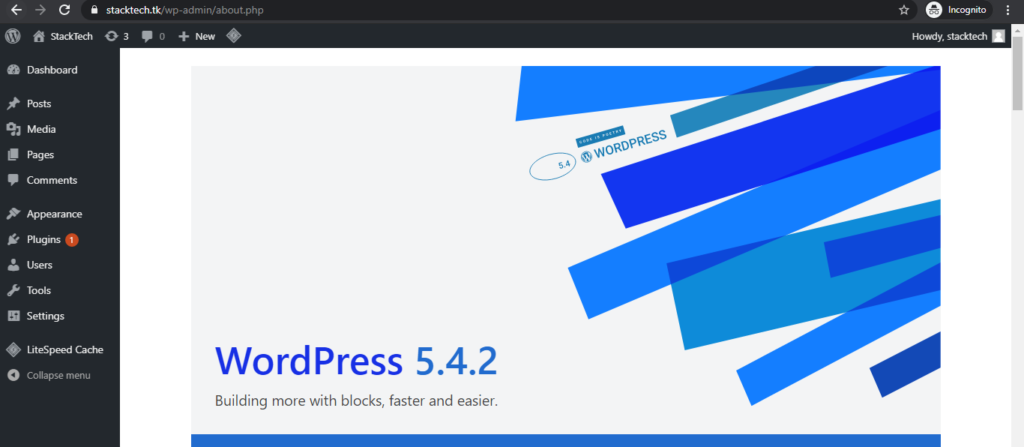
Step 11:- Now, You can visit to your site. You might have noticed it is secured with the SSL certificate.
Give all the information and press Install WordPress.
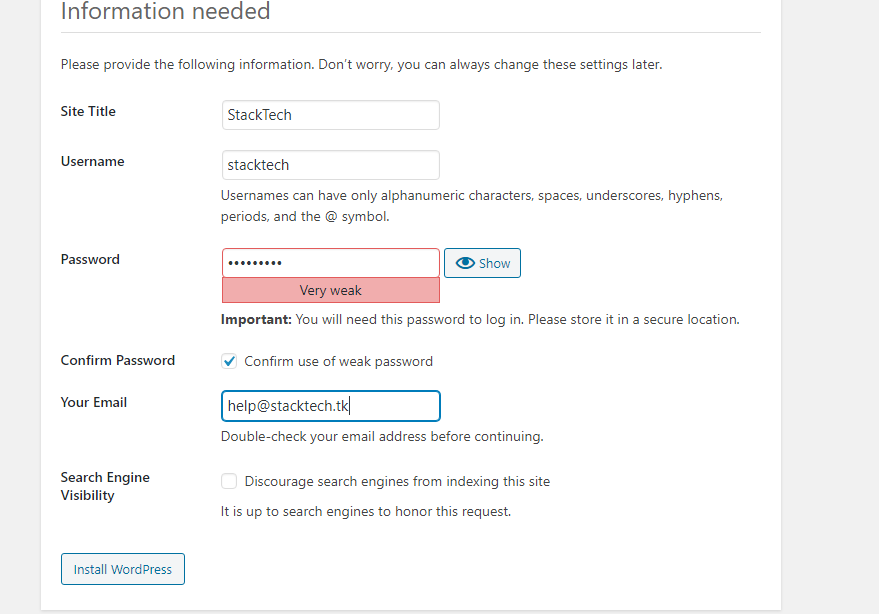
It will install WordPress. Next, you can log in to admin and start posting.
Congratulations on successfully setting up your WordPress website on Google Cloud with Bitnami and SSL encryption! You've taken a significant step towards creating a secure and high-performing online presence.
At Byteplexure, we understand that while the process we've outlined here can empower you to create and secure your website, it might not be everyone's cup of tea. That's where we come in. By partnering with Byteplexure, you can take your website hosting to the next level. Our goal is to empower you to focus on your content and business growth while we take care of the technical details.
Looking for reliable development partners? Check out our curated list of offshore software development companies.

